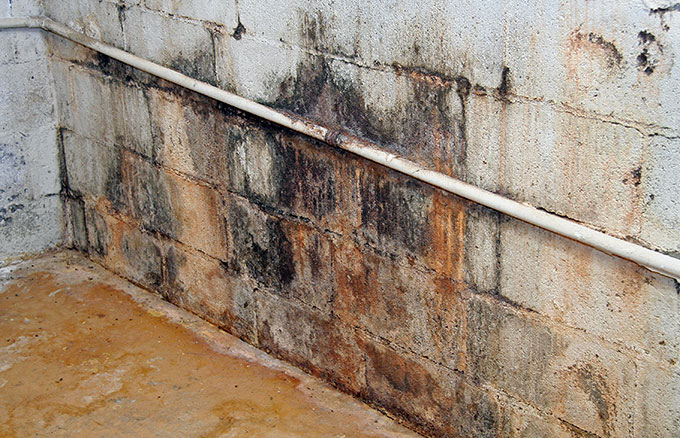
How To Repair Foundation Leaks

Depending upon what type of material your foundation is constructed of, either masonry or concrete, the repair methods vary. First, we will take a look at masonry foundations. Masonry foundation walls are generally either 10-inch or twelve-inch concrete masonry units (CMU). In the olden days the term “cinder block” came about from the use of actual cinders as the base material. Today these are seldom available. CMU is composed of cement, sand, and other binders and is much stronger and able to withstand much higher structural loads. Newer CMU units may be substituted for older-style masonry units for repairs and so on. Start by taking a very careful look at your foundation walls.
Look for the bowing of the wall itself in an inward direction by using the longest level you have or a straight piece of lumber. Placing the level in a vertical position and slowly moving it along the wall will indicate by being able to “rock” the level, that the wall is bowed. You should be able to keep the level firmly against the wall. If you find a bowed condition, it could indicate an outside pressure is being placed against the wall. This may be caused by several things. Many types of soils when wet will place extra side stress on the walls. Shifting soils on the exterior may also place extra stress against the walls causing them to bow and crack. Look for exterior changes to the area around the home. Look for things such as collapsed retaining walls, sliding embankments, excess water runoff, broken gutters, and anything that did not exist in the past.
Is the exterior grading still allowing water to run away from the foundation wall? All of these things can cause excess water to gather outside the foundation wall, soaking the ground and then causing the ground to shift. Look for blocked footing drain outlet pipes. If this pipe is plugged water cannot escape from around the foundation perimeter and thereby cause a foundation leak.
If the bow in the wall is minor and cracking is at a minimum, you may be able to repair the wall yourself. Using a four-inch hand grinder with a masonry blade cut out small portions of the cracked masonry joints and re-point or patch them with new mortar. Do small areas at a time so as not to compromise the integrity of the overall wall. The application of a sealer such as Dri-Lock on the wall will also help to seal out groundwater. However, if there is a high concentration of water for any of the reasons I listed above, they must be corrected first. Make sure when applying the sealer that you paint it down and out onto the floor about two inches or so to provide a seal at the wall-to-floor joint.
Concrete foundation walls are a bit easier to patch. Again if the crack appears to be simple shrinkage of the concrete, using the same four-inch grinder, open the crack to the thickness of the blade and approximately one inch deep. Go no deeper as the reinforcing bar is generally held two inches from the face of the concrete wall and you do not want to damage it. There are lots of caulk gun-type sealants available today that are made just for concrete. Make sure you penetrate the crack when applying the sealant and allow for air drying if you are going to cover the sealant with new wall finishes.
If the exterior side of the foundation wall, either concrete or CMU units, was properly patched and waterproofed before backfilling, these simple repairs should leave a nice dry basement.
If the walls show either severe bowing or large cracks there may be a loss of structural stability. Have a structural engineer or architect examine the walls to determine if they need to be replaced or what other repairs may be needed. Shoring and other work may be required so do not start removing the walls before consulting a professional first.
